2023. 3. 27. 21:39ㆍ공부 중/Node.js
Node.js - MySQL - 생활코딩
수업소개 이 수업은 Node.js와 MySQL을 이용해서 웹애플리케이션을 만드는 방법에 대한 수업입니다. 수업대상 예를들어 1억 개의 페이지로 이루어진 웹사이트에서 필요한 정보가 파일에 하나하나
opentutorials.org
생활코딩 Node.js - MySQL 강의를 듣고서 작성한 글입니다. 그냥 그렇다고요.

1. JOIN문을 이용한 상세 보기 구현
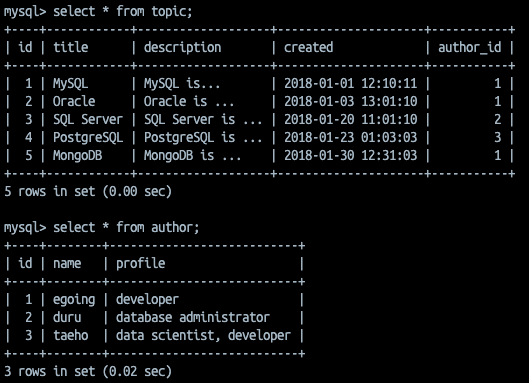
topic과 author 테이블을 조인해서 글마다 작성자가 누구인지 표시할 수 있도록 한다.
`SELECT * FROM topic LEFT JOIN author ON topic.author_id= author.id WHERE topic.id=?`,
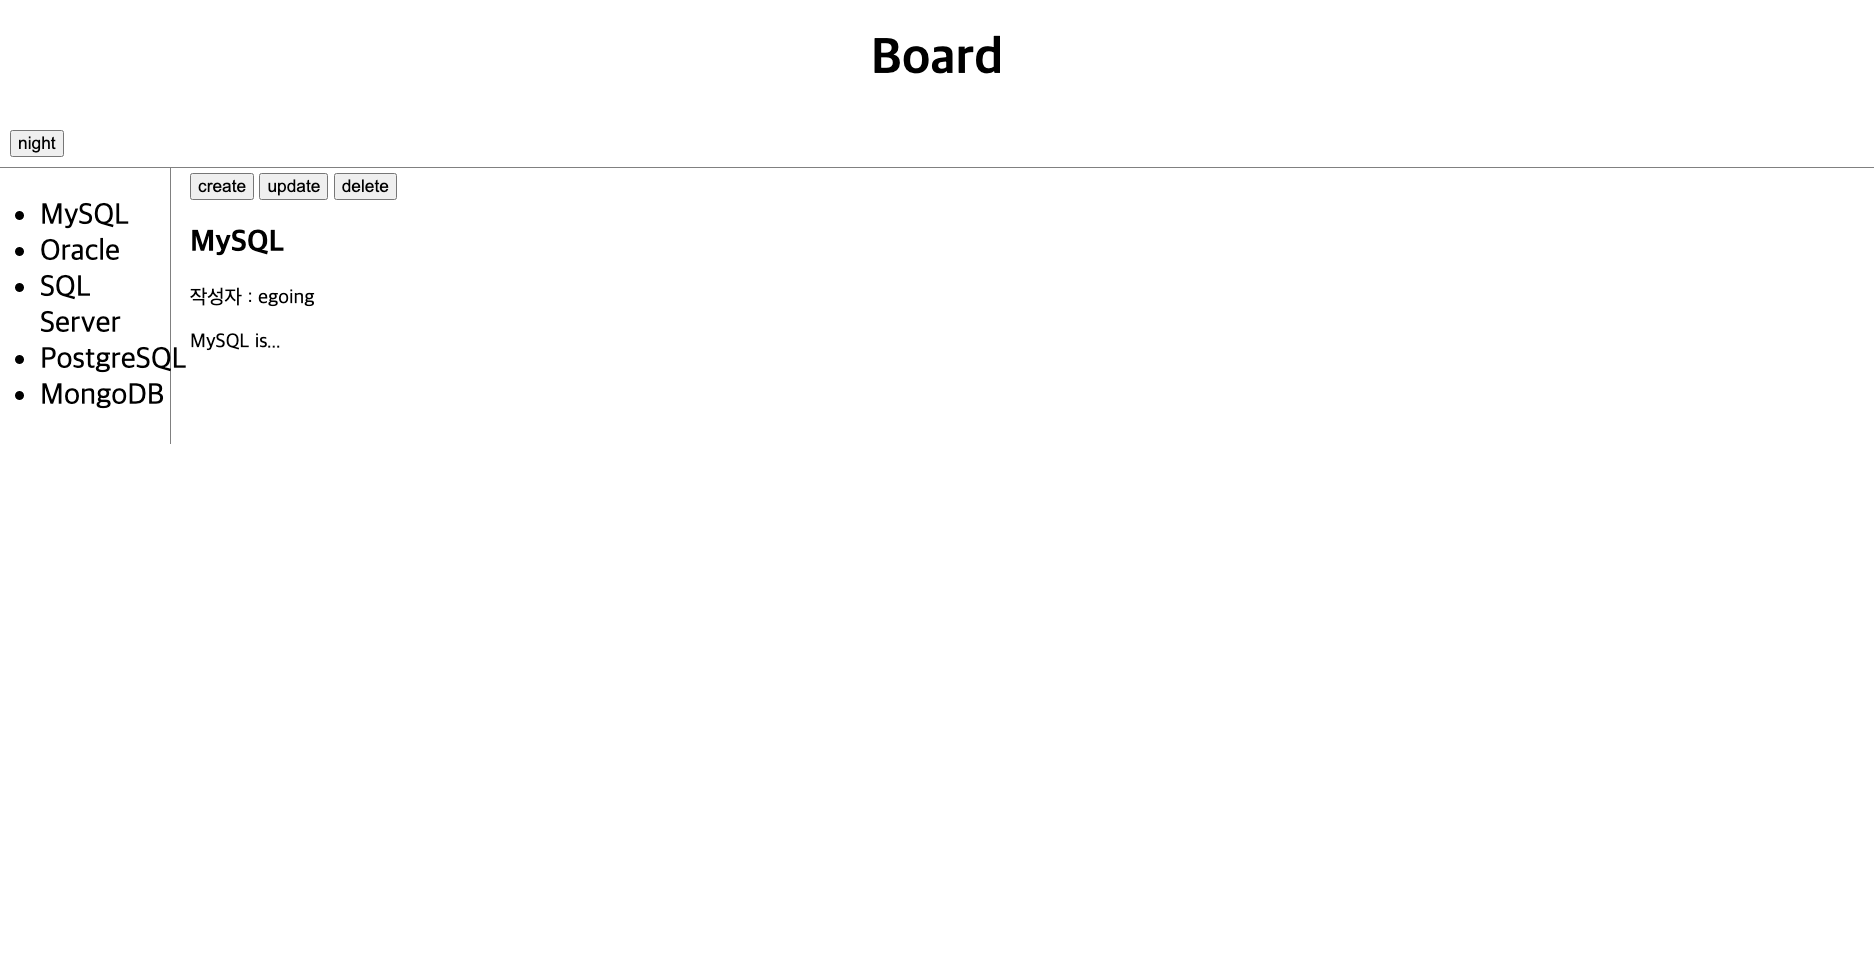
HTML 코드를 수정해서 작성자를 표시하는 p 태그를 추가한다.
module.exports = {
  HTML: function (title, list, control, description) {
    return `
     <!DOCTYPE html>
     <html lang="en">
       <head>
         <meta charset="UTF-8" />
         <meta http-equiv="X-UA-Compatible" content="IE=edge" />
         <meta name="viewport" content="width=device-width, initial-scale=1.0" />
         <title>WEB - ${title}</title>
         <link rel="stylesheet" href="style.css">
         <script src="./lib/color.js"></script>
         <script src="./lib/crudBtn.js"></script>
       </head>
       <body>
         <div id="top">
           <h1><a href="/">Board</a></h1>
           <input type="button" value="night" onclick="nightDayHandler(this)"/> </div>
         <div id="grid">
          ${list}
          <div id="article">
            <div id="control">${control}</div>
            <h2>${title}</h2>
            ${description}
          </div>
        </div>
       </body>
      </html>
    `;
  },
추가로 author라는 인자를 받아서 ${author}라는 템플릿 리터럴을 추가한다.
module.exports = {
  HTML: function (title, list, control, description, author) {
    return `
...
<div id="article">
<div id="control">${control}</div>
<h2>${title}</h2>
<p>
${author}
</p>
<p>
${description}
</p>
</div>
...관련된 모든 코드를 변경해야 한다.
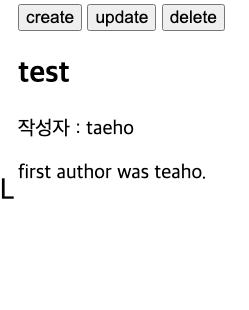
const author = `작성자 : ${topic[0].name}`;
readAndRes(title, description, control, author);
이런 식으로 다른 값들과 함께 끼워 팔면 된다.
2. Create
가. else if (pathname === ‘/create’)
이제는 글을 생성할 때 작성자에 대한 정보를 같이 입력해야 한다.
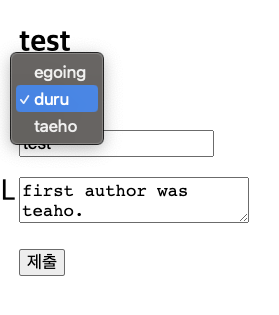
하지만 아직 계정을 생성하고 관리하는 기능이 구현되어 있지 않은 관계로 콤보 박스를 이용하겠다.
콤보 박스를 이용해서 author 테이블에 이미 존재하는 name들에 대해서 선택할 수 있도록 한다.
콤보 박스는 url이 /create 이거나 /update 인 경우 사용된다.
//template.js

    },authorSelect:function(authors){
    var tag = '';
    var i = 0;
    while(i < authors.length){
      tag += `<option value="${authors[i].id}">${authors[i].name}</option>`;
      i++;
    }
    return `
      <select name="author">
        ${tag}
      </select>
    `
    }
}template.js에 select 태그를 만들어주는 authorSelect라는 메서드를 추가한다.
} else if (pathname === "/create") {
    db.query(`SELECT * FROM author`,function(error, authors){
      let title = "create";
      let description = `
          <form action="/create_process" method="post">
              <p><input type="text" name="title" placeholder="title"></p>
              <p>
                  <textarea name="description" placeholder="description"></textarea>
              </p>
              <p>
                  <input type="submit">
              </p>
          </form>
        `;
      let control = ``;
      let author  = template.authorSelect(authors);
      readAndRes(title, description, control, author);
    });
} else if (pathname === "/create_process") {/create에서는 SELECT문을 통해서 author 테이블에 대한 정보를 가져온 다음 form에서 선택할 수 있게 template.authorSelect로 전달한다.한다.
author는 비워둔다.

나. else if (pathname === "/create_process")
db.query(
    `INSERT INTO topic (title, description, created, author_id)
    VALUES (?, ?, NOW(), ?)`,
    [sanitizedTitle, sanitizedDesc, post.author],
    function(error, result){ ... }
);1로 고정해 둔 author_id를 post.author로 변경한다.
 |
 |
3. Update
update도 비슷하다.
가. else if (pathname === "/update")
} else if (pathname === "/update") {
    db.query(`SELECT * FROM topic WHERE id=?`,[queryData.id],function (error, topic) {
        if (error) {
          throw error;
        }
        db.query(`SELECT * FROM author`,function(error2, authors){
          if (error2){
            throw error2
          }
          const title = topic[0].title;
          const description = topic[0].description;
          const id = queryData.id;
          let control = ``;
          const updateForm = `
            <form action="/update_process" method="post">
                <p>${template.authorSelect(authors)}</p>
                <p>
                <input type="hidden" name="id" value="${id}">
                <input type="text" name="title" placeholder="title" value="${title}"> </p>
                <p>
                     <textarea name="description" placeholder="description">${description}</textarea>
                </p>
                <p>
                     <input type="submit">
                </p>
            </form>
          `;
          const author = ``;
          readAndRes(title, updateForm, control, author);
        });
    });
} else if (pathname === "/update_process") {db.query(SELECT * FROM author,function(error2, authors){
:author테이블의 모든 값을 조회한다.<p>${template.authorSelect(authors)}</p>
: 조회한 정보를 바탕으로 콤보 박스를 만든다.
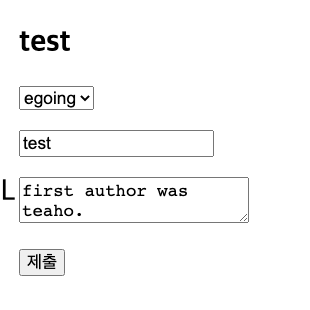
/update 창에서 콤보 박스에 선택된 옵션이 기존의 작성자와 일치하지 않는다.
updateForm에 기존의 작성자가 기본값으로 보이게끔 고쳐보자.
<p>${template.authorSelect(authors, topic[0].author_id)}</p>template.authorSelect 메서드에 기존의 author_id값을 같이 넘겨준다.
},authorSelect:function(authors, author_id){
    let tag = '';
    let i = 0;
    while(i < authors.length){
      let selected ='';
      if (authors[i].id === author_id){
        selected = 'selected';
      }
      tag += `<option value="${authors[i].id}" ${selected}>${authors[i].name}</option>`;
      i++;
    }
기존의 작성자와 동일한 id값을 가지면 selected 속성을 추가한다.

나. else if (pathname === "/update_process")
db.query(`UPDATE topic SET title=?, description=?, author_id=? WHERE id=?`,
        [sanitizedTitle, sanitizedDesc, post.author, id],
function (error, result) {...}author_id에 post.author로 갱신되도록 쿼리문을 수정한다.
 |
 |
'공부 중 > Node.js' 카테고리의 다른 글
| [Node.js] 모듈로 정리정돈 (0) | 2023.04.01 |
|---|---|
| [Node.js] 리팩터링 (0) | 2023.03.27 |
| [Node.js] MySQL로 기능 구현 (Update, Delete) (0) | 2023.03.27 |
| [Node.js] MySQL로 기능 구현 (Create, Read) (0) | 2023.03.27 |
| [Node.js] npm install mysql2 (0) | 2023.03.13 |